Friday, June 23, 2017
Sunday, May 14, 2017
Saturday, March 18, 2017
Sunday, March 12, 2017
Expo By Robotics for Youth at Ashburn Library - Mar 18 (2pm)
Open for All
Date: March 18, 2017 2:00 pm
Venue: Ashburn Library, 43316 Hay Rd, Ashburn, VA 20147
Venue: Ashburn Library, 43316 Hay Rd, Ashburn, VA 20147
Expo By Robotics for Youth at Ashburn Library
Sunday, February 19, 2017
Servo Motor and Ultrasonic Sensor in Action - Toll Gate Project
Arduino Code:
#include <Servo.h>
int redLed = 13;
int triggerPin = 3;
int echoPin = 4;
int servoPin1 = 7;
int servoPin2 = 10;
int yellowLed = 2;
Servo myServo1;
Servo myServo2;
void setup() {
// put your setup code here, to run once:
Serial.begin(9600);
pinMode(redLed, OUTPUT);
pinMode(yellowLed, OUTPUT);
pinMode(triggerPin, OUTPUT);
pinMode(echoPin, INPUT);
myServo1.attach(servoPin1);
myServo2.attach(servoPin2);
}
void loop() {
// put your main code here, to run repeatedly:
long duration, distance;
digitalWrite(triggerPin, LOW);
delayMicroseconds(2);
digitalWrite(triggerPin, HIGH);
delayMicroseconds(10);
digitalWrite(triggerPin, LOW);
duration = pulseIn(echoPin, HIGH);
distance = (duration/2) / 29.1;
Serial.print("Distance: ");
Serial.println(distance);
if (distance < 20) {
digitalWrite(redLed,LOW);
digitalWrite(yellowLed, HIGH);
myServo1.write(90);
myServo2.write(90);
}
else {
digitalWrite(redLed,HIGH);
digitalWrite(yellowLed, LOW);
myServo1.write(0);
myServo2.write(180);
}
}
Sunday, January 29, 2017
Tuesday, January 24, 2017
Sunday, January 22, 2017
STEM Event - Jan 28, 2017 - http://haymakerstemexpo.org/ - Battlefield HS
Visit and support us, an event in collaboration with Robotics For Youth ...
28-Jan-2017 (10am - 3pm) Battlefield High School, VA
28-Jan-2017 (10am - 3pm) Battlefield High School, VA
Monday, January 16, 2017
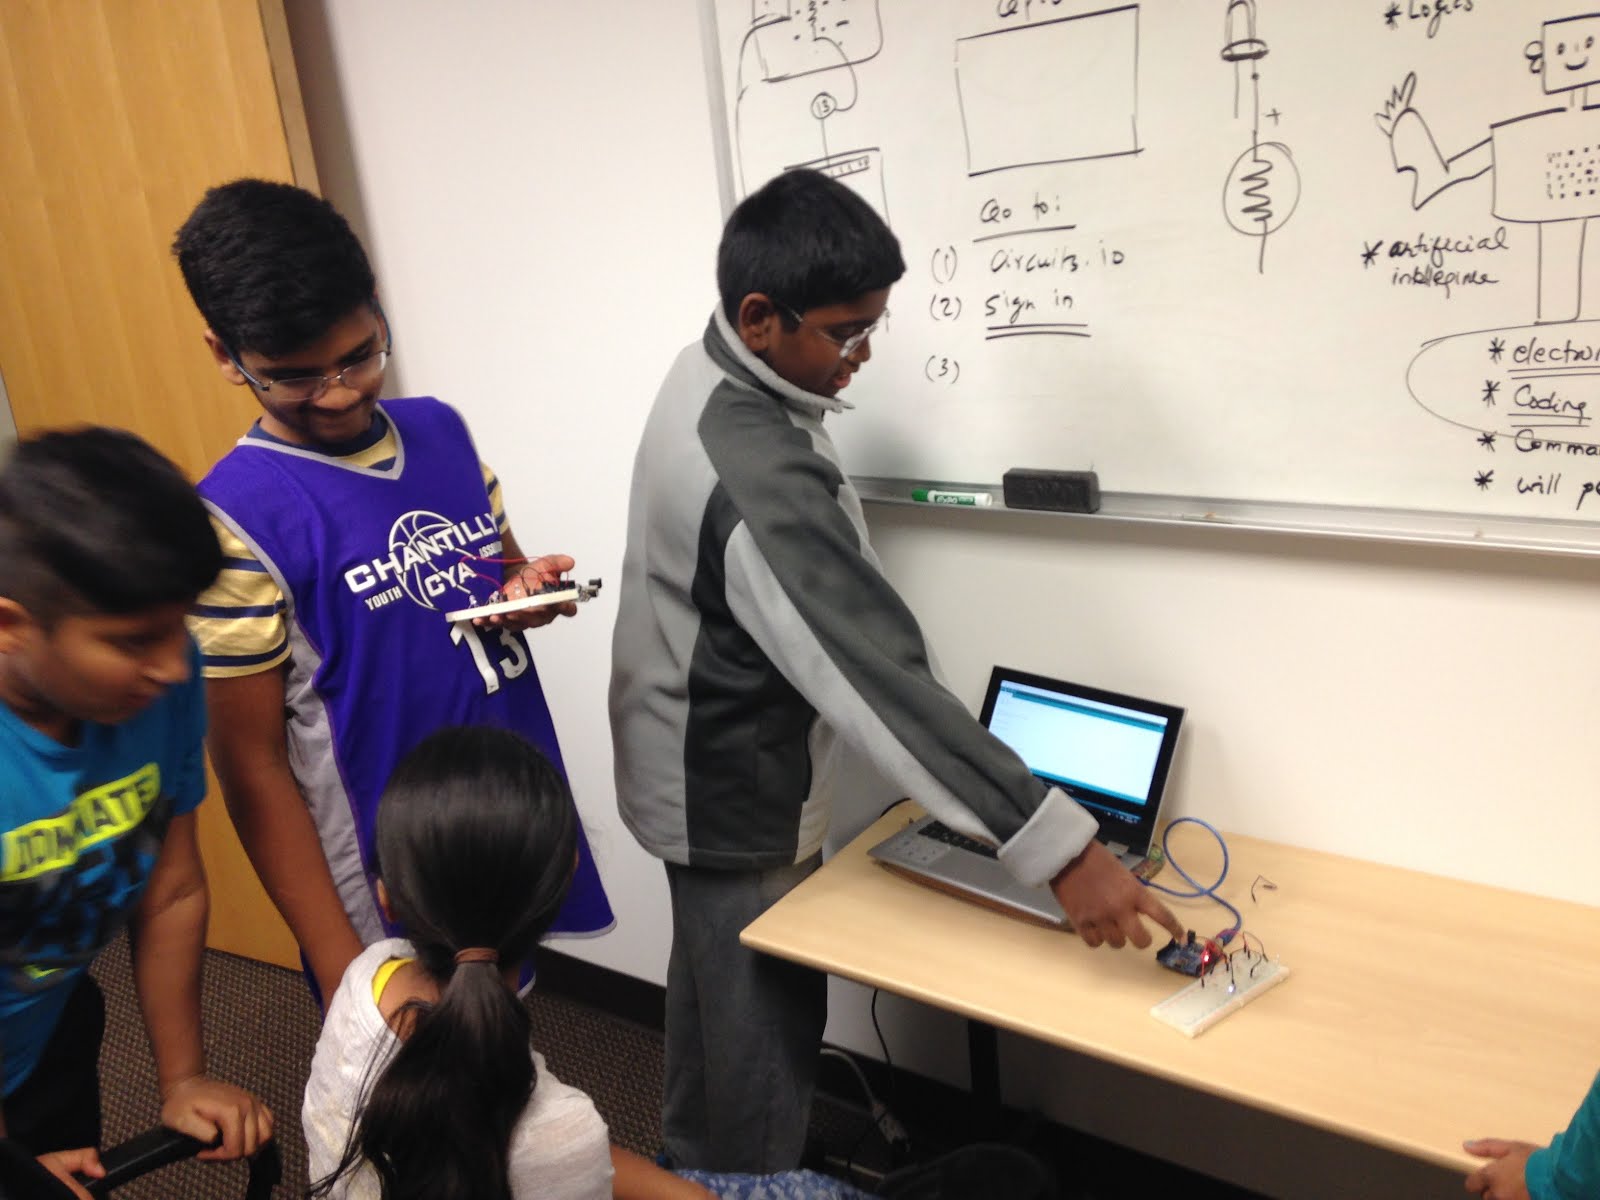
Robotics & Electronics Awareness Bootcamp
Date / Time / Venue
January 21, 2017 - 12.15pm-1.45pm
Ashburn Library
Vision:
Create awareness and bring an avenue where kids can learn the basics of electronics in order to build robotic and Internet of Things (IoT) gadgets.Mission:
Make the state of the art (science and technology) available and accessible for the kids with proper education curriculum that is focused on fundamentals. The establishment of a very strong academics, practical lab experience along with awareness will motivate the kids to bring their dreams to reality.
Overview:


- Use Arduino and Raspberry Pi Microcontrollers
- Programming Techniques (Sketch, Python, Java etc,.)
- Introduction to electronics using simulation software
- Materials
Core Benefits:
- Enrich STEAM (Science, Tech, Engg, Art and Math)
- Help to achieve good grades for Tech Ed (Tech Eduction)
- Opportunity to touch, feel, use and build IoT
- Build Robotics Projects (use of motors, sensors etc.,)
- Enrich analytical, tactical and logical skills
Eligible Kids:
Listen and follow guidelines (K2 and Above)
Educator:

- Ravikumar Veerasamy is a leader in the IT industry with 22+ years of experience
- Serving as a honorary advisory director for Robotics for Youth (http://www.roboticsforyouth.org/board-of-directors/), a non-profit organization completely run by middle/high school students.
- Teaching Robotics & Electronics classes at Nextide Academy (www.nextideacademy.org)
- Teaching Robotics & Electronics private classes on a need basis
- Contact: rush2ravikumar@yahoo.com
- https://www.linkedin.com/in/ravikumar-veerasamy-4397bb13
Sunday, January 15, 2017
Servo Motor and Arduino Basics
Arduino Sketch:
#include <Servo.h>
Servo myServo;
int servoPin = 9;
// the setup routine runs once when you press reset:
void setup() {
// initialize the digital pin as an output.
myServo.attach(servoPin);
}
// the loop routine runs over and over again forever:
void loop() {
//Moving forward in the increments of 45 degrees, upto 180 degree
myServo.write(45);
delay(1000);
myServo.write(90);
delay(1000);
myServo.write(135);
delay(1000);
myServo.write(180);
delay(1000);
//Moving backward in the deccrements of 45 degrees, upto 0 degree
myServo.write(135);
delay(1000);
myServo.write(90);
delay(1000);
myServo.write(45);
delay(1000);
myServo.write(0);
delay(1000);
}
Sunday, January 8, 2017
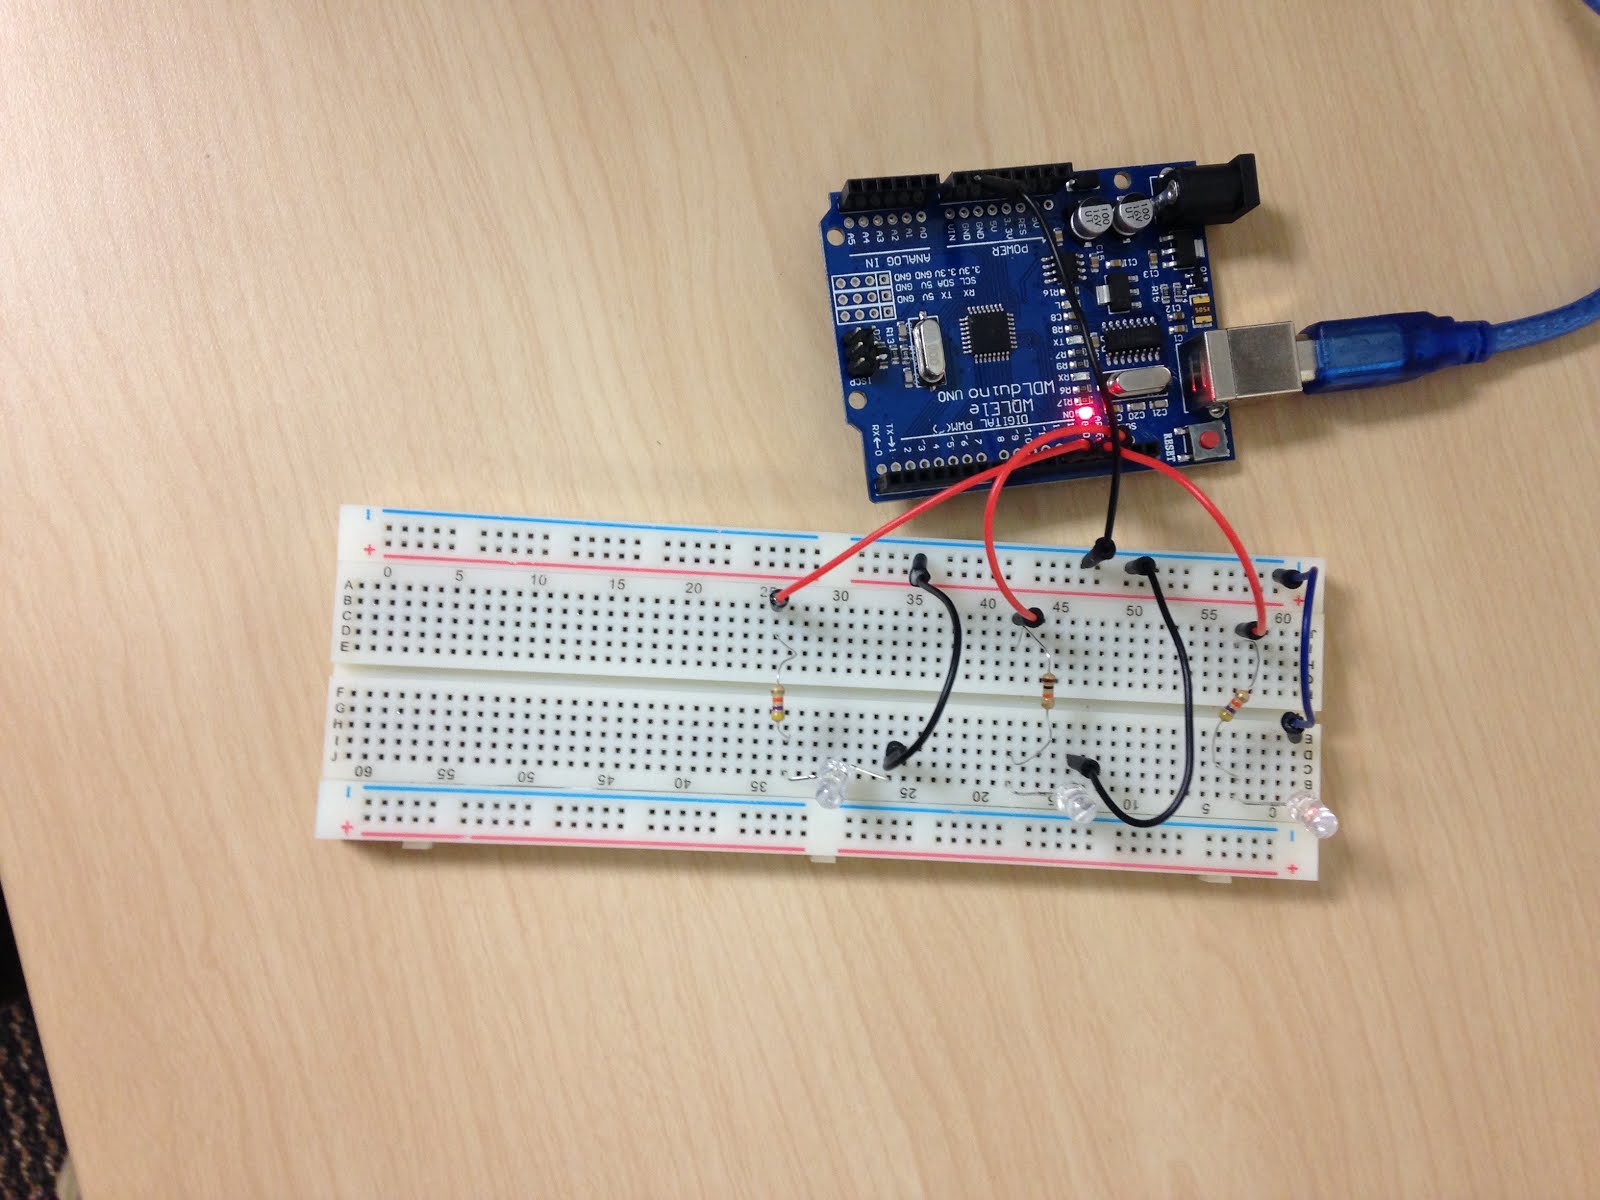
How to use Ultrasonic Sensor?
Arduino Sketch Code is as below:
// Pin 13 has an LED connected on most Arduino boards.
// give it a name:
int sig = 7;
int led = 3;
// the setup routine runs once when you press reset:
void setup() {
// initialize the digital pin as an output.
Serial.begin(9600);
pinMode(led, OUTPUT);
}
// the loop routine runs over and over again forever:
void loop() {
pinMode(sig, OUTPUT);
digitalWrite(sig, LOW); // turn the LED on (HIGH is the voltage level)
delayMicroseconds(2); // wait for a second
digitalWrite(sig, HIGH); // turn the LED off by making the voltage LOW
delayMicroseconds(5); // wait for a second
digitalWrite(sig, LOW);
pinMode(sig, INPUT);
long duration = pulseIn(sig, HIGH);
int distance = duration / 74 / 2;
Serial.print("distance ");
Serial.println(distance);
if (distance <50){
tone(8, 1000, 500);
digitalWrite(led, HIGH);
delay(100);
}
digitalWrite(led, LOW);
delay(100);
}
Note: I am using circuits.io for simulating the task,
Robotics and Electronics - Awareness Boot Camp
Date / Time / Venue
January 14, 2017 - 2pm-3pm
Gum Spring Library
4600 Millstream Dr, Stone Ridge, VA 20105
Purpose:
Create awareness and bring an avenue where kids can learn the basics of electronics in order to build robotic and Internet of Things (IoT) gadgets.
Mission:
Make the state of the art (science and technology) available and accessible for the kids with proper education curriculum that is focused on fundamentals. The establishment of a very strong academics, practical lab experience along with awareness will motivate the kids to bring their dreams to reality.
Overview:
- Use Arduino and Raspberry Pi Microcontrollers
- Programming Techniques (Sketch, Python, Java etc,.)
- Introduction to electronics using simulation software
- Materials
Core Benefits:
- Enrich STEAM (Science, Tech, Engg, Art and Math)
- Help to achieve good grades for Tech Ed (Tech Eduction)
- Opportunity to touch, feel, use and build IoT
- Build Robotics Projects (use of motors, sensors etc.,)
- Enrich analytical, tactical and logical skills
Eligible Kids:
Listen and follow guidelines (K2 and Above)
Educator:
- Ravikumar Veerasamy is a leader in the IT industry with 22+ years of experience
- Serving as a honorary advisory director for Robotics for Youth (http://www.roboticsforyouth.org/board-of-directors/), a non-profit organization completely run by middle/high school students.
- Teaching Robotics & Electronics classes at Nextide Academy (www.nextideacademy.org)
- Teaching Robotics & Electronics private classes on a need basis
- Contact: rush2ravikumar@yahoo.com
- https://www.linkedin.com/in/ravikumar-veerasamy-4397bb13

Subscribe to:
Posts (Atom)